 |
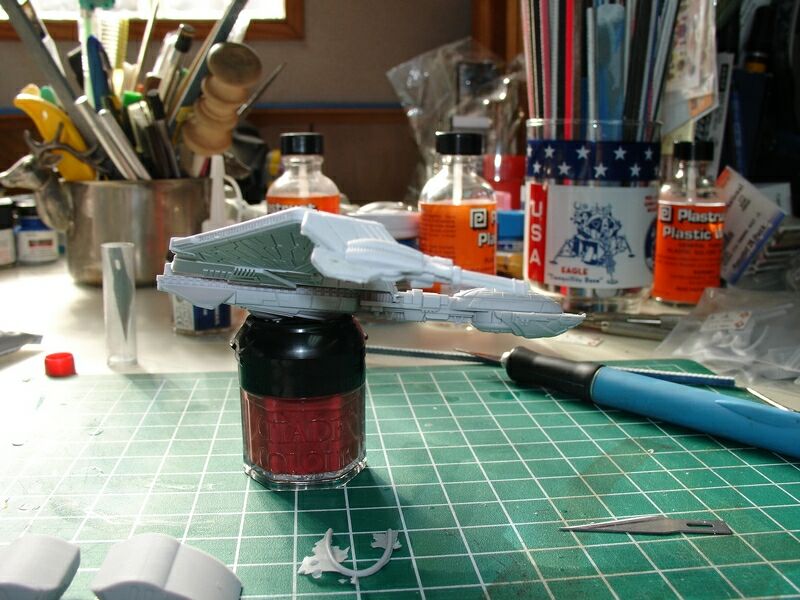
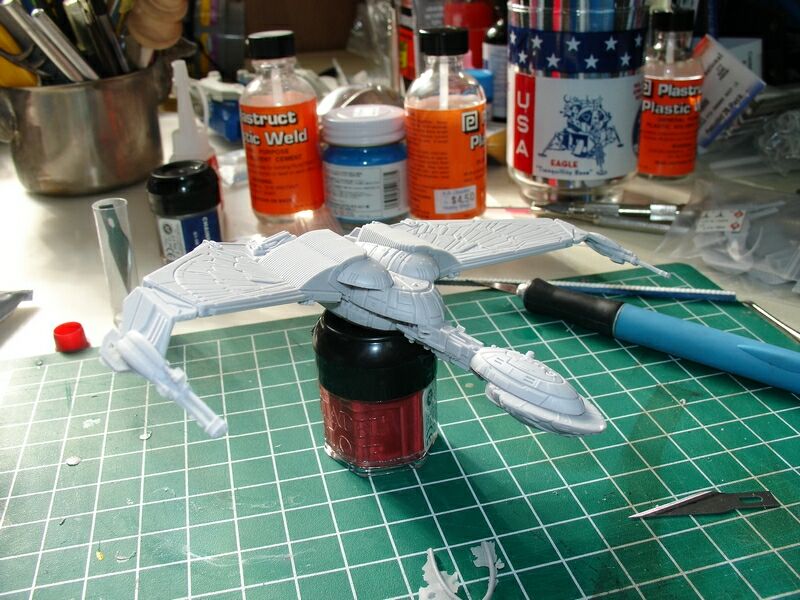
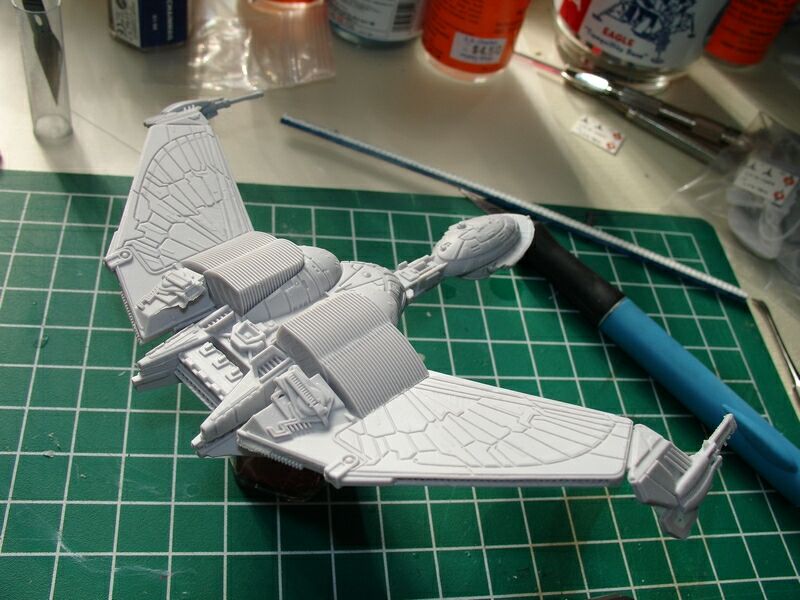
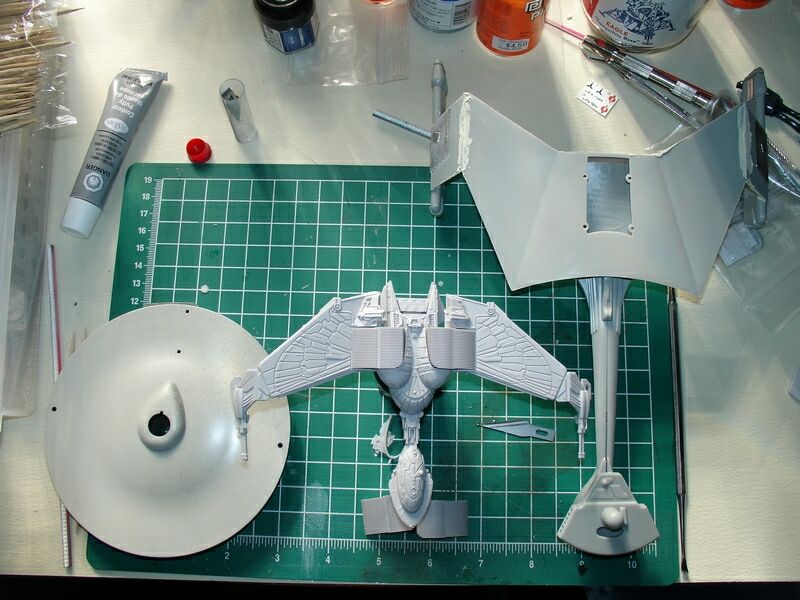
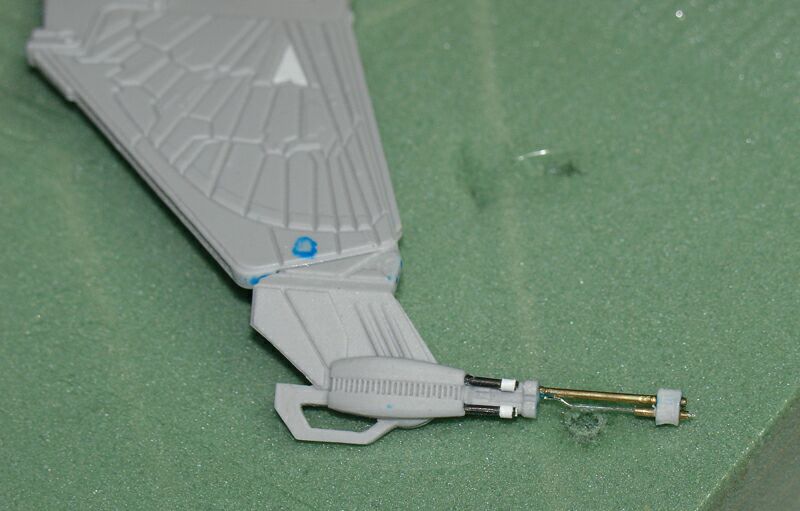
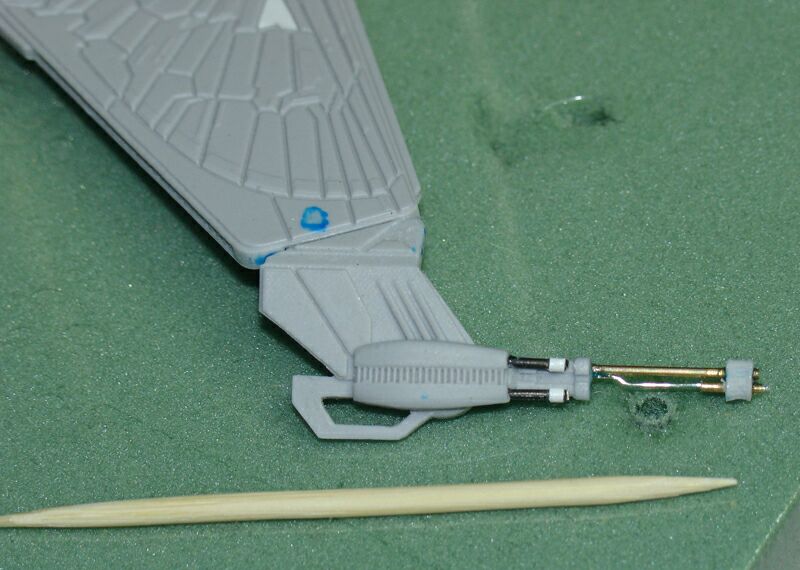
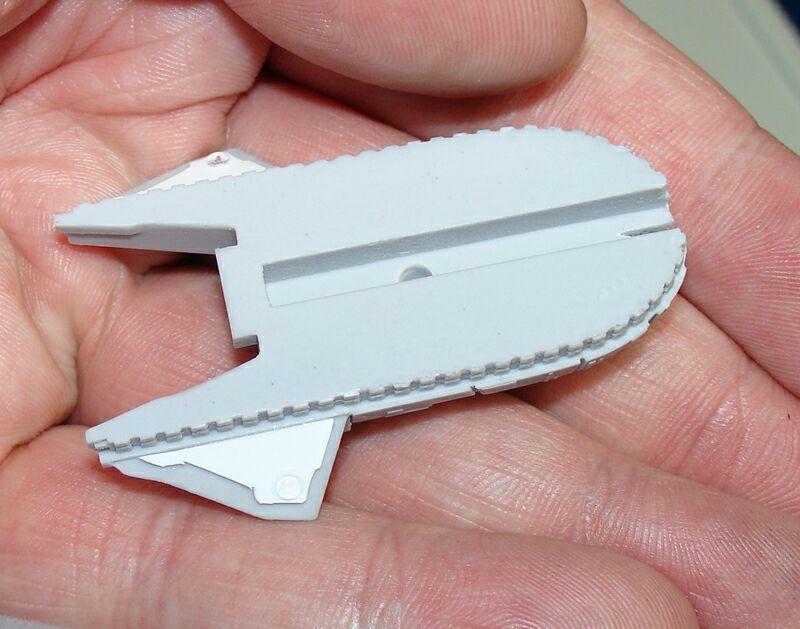
(Im progress shots) |
|
|
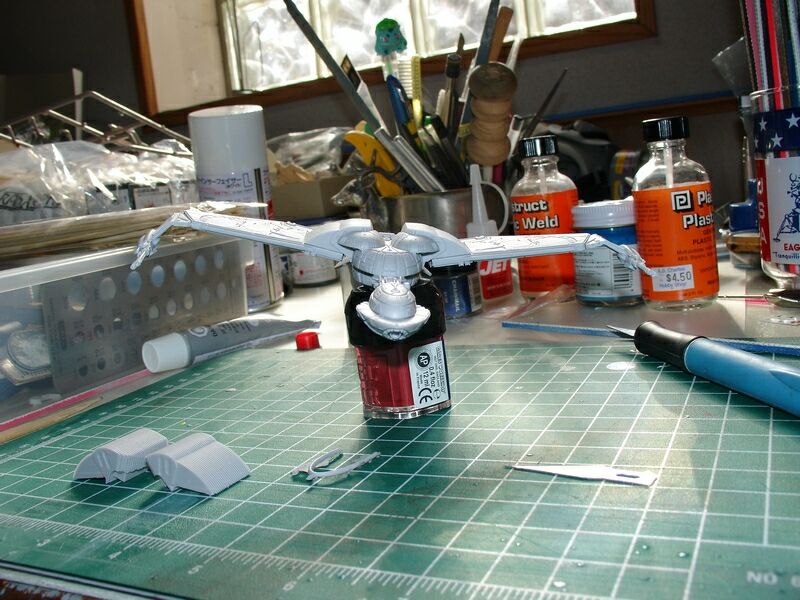
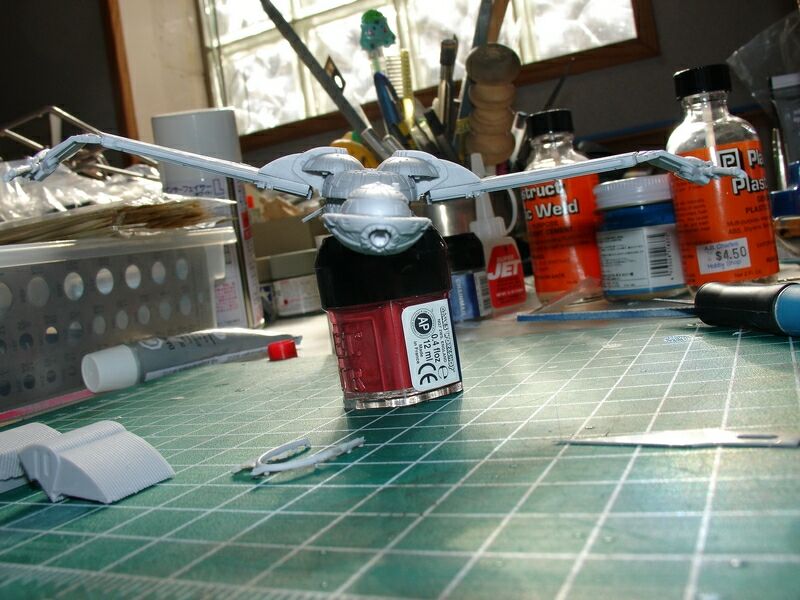
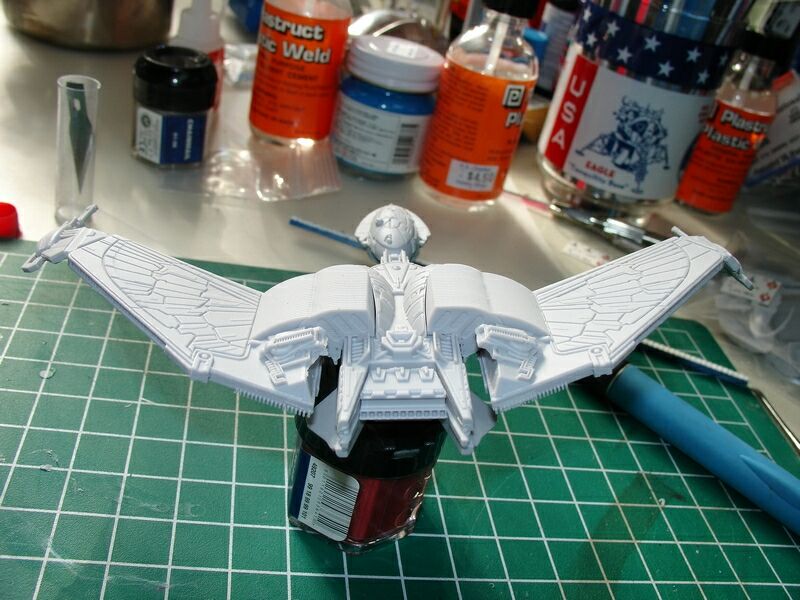
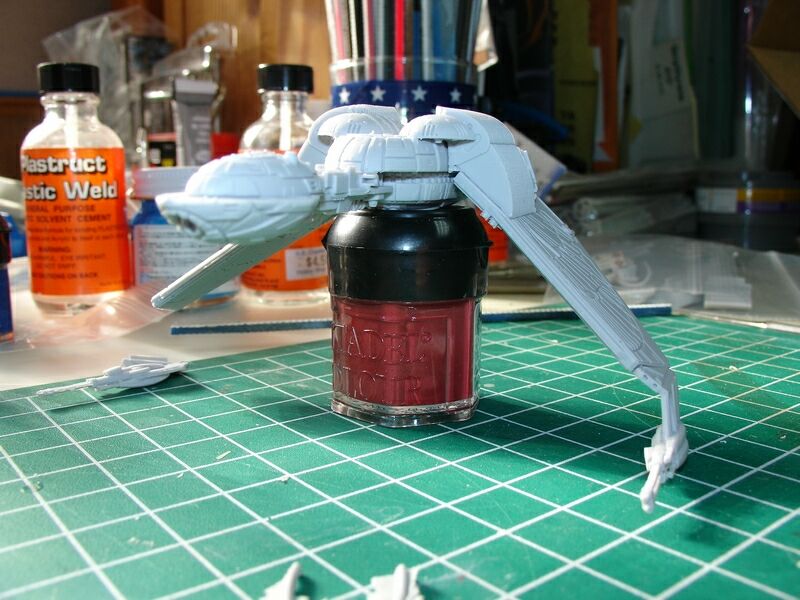
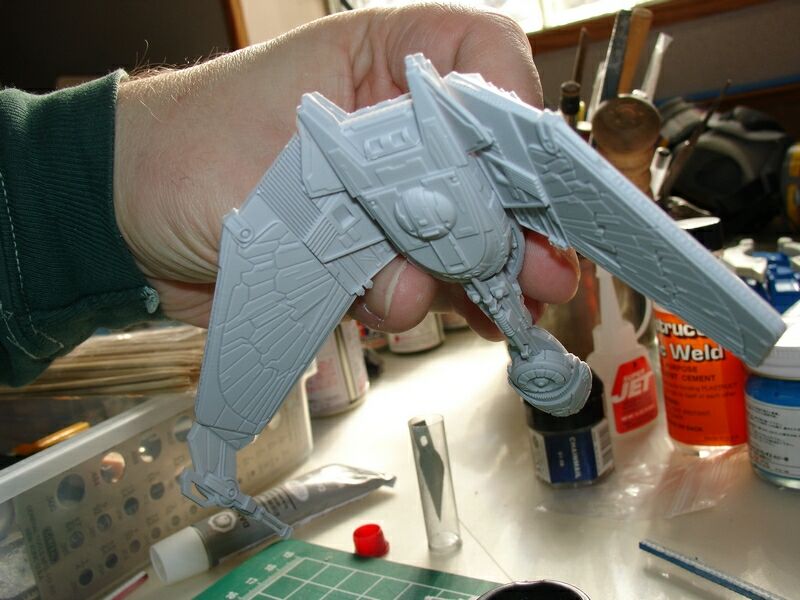
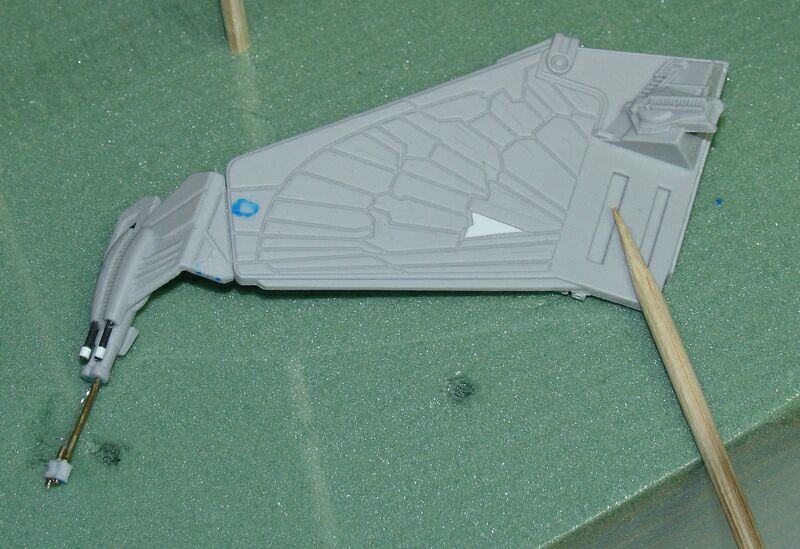
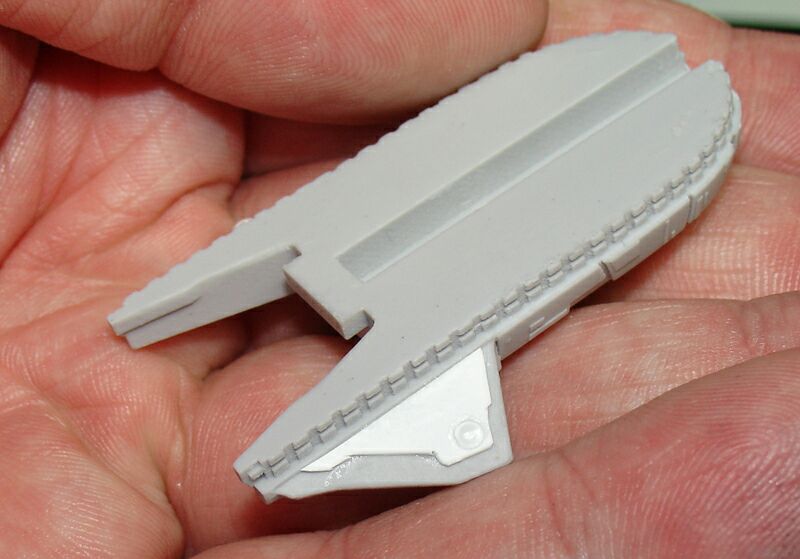
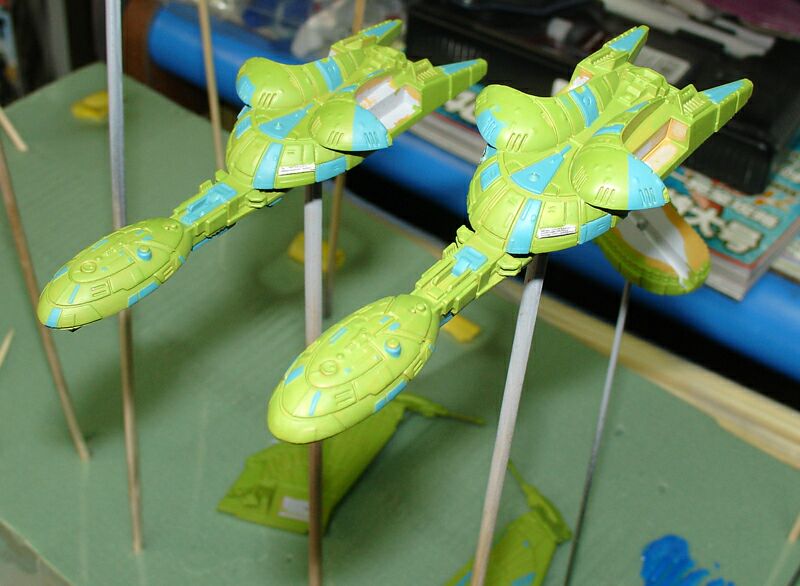
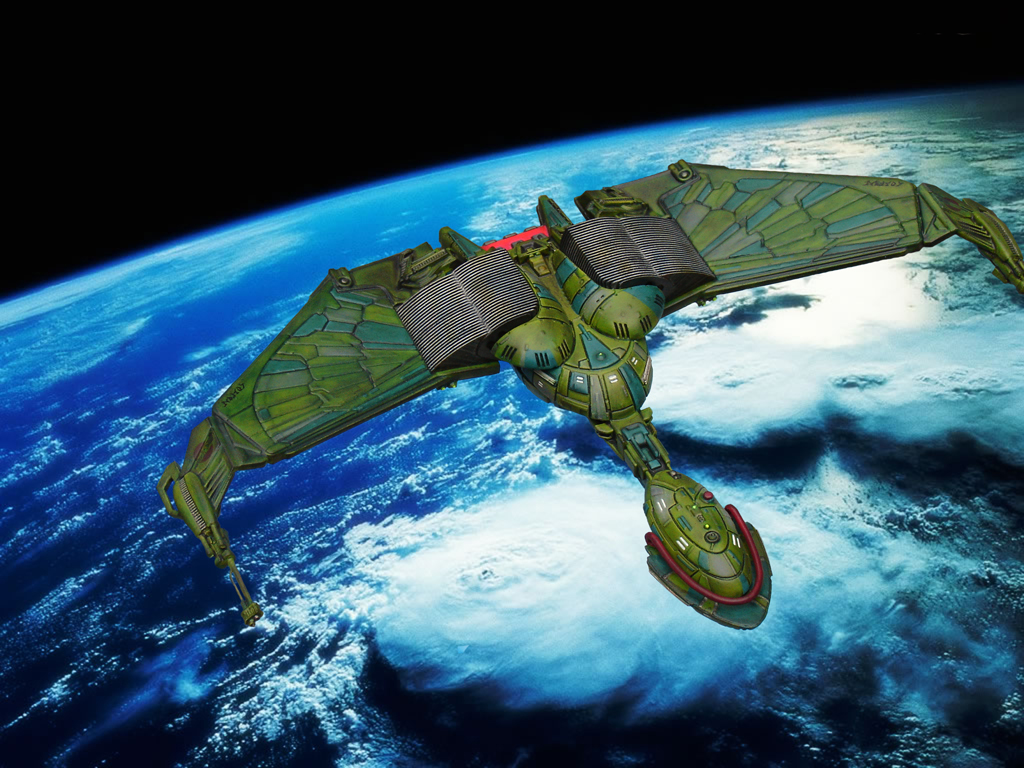
(Im progress shots) |
|
|
|
|
|
 |
 |
 |
 |
 |
 |
 |
 |
 |
 |
 |
 |
 |
 |
 |
 |
 |
 |
 |
 |
 |
 |
 |
 |
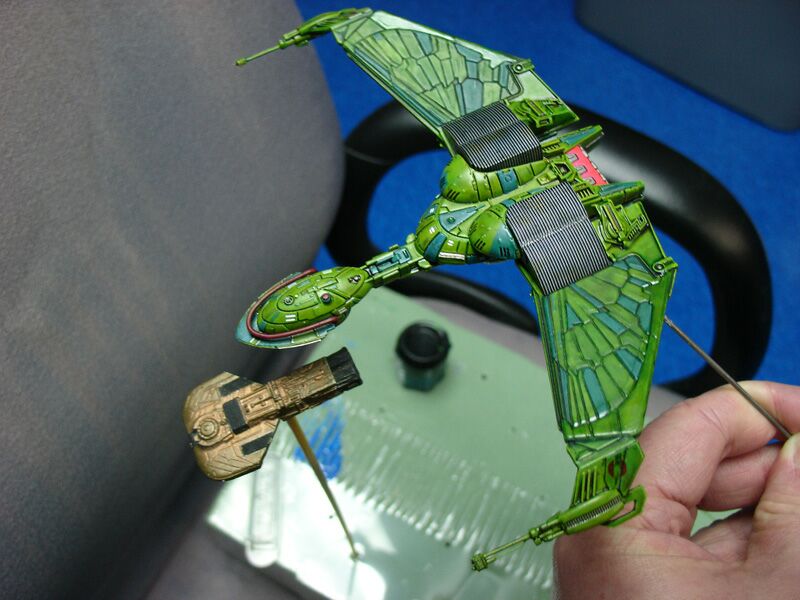 |
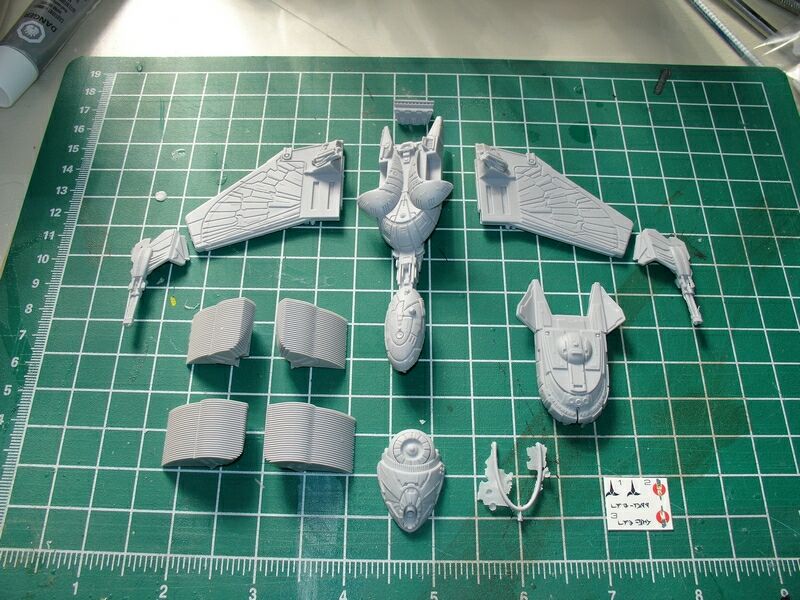
| About the model and
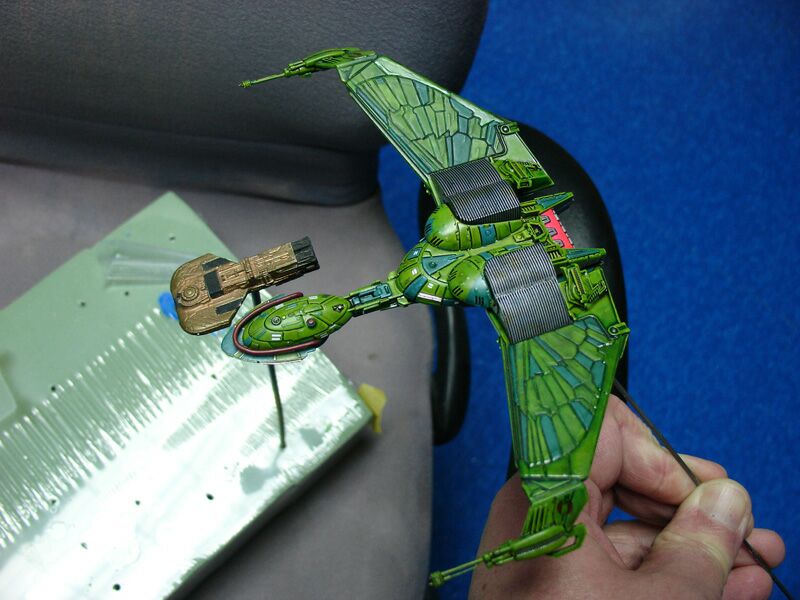
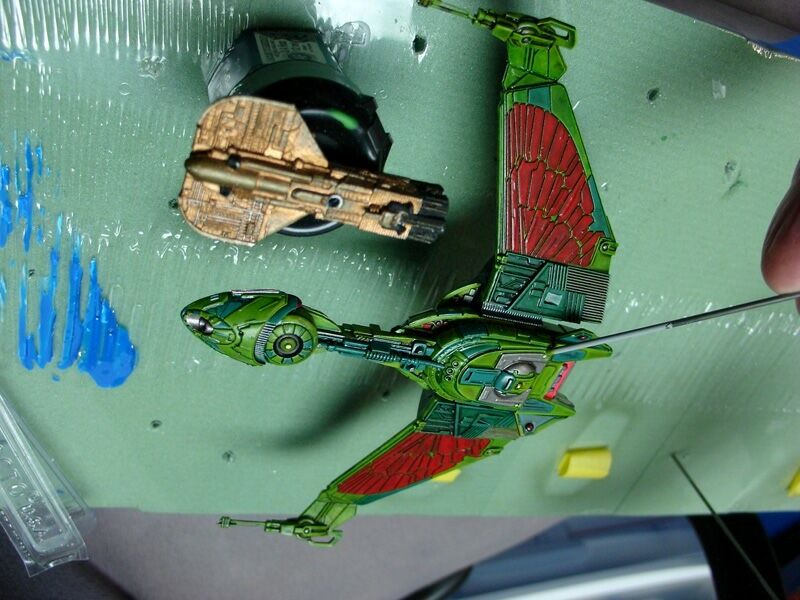
design: Mods I made before painting: -Rebuilt the wing guns - Sanded smooth the sensor strip area on both sides of the nose and 2 aft sections and replaced them with 20 gauge wire laid down in segments of 4 strips. -Replace missing feathers on the wings with sheet styrene - had to rebuild the lights on the wings -added missing details and 'bumps' to smaller wings below the engines -replaced cloaking generator with plastic coated metal wire, bent to shape to match - Designed decals for the front of the wing baffle to simulate the geometric line pattern Paint: (sorry, I don't remember the exact ratios) Body and wings.... -Primer: Tamiya grey spray can, -- everything from here on out was hand brushed with mostly Games Workshop acrylics and a Wet Pallet. - Base coat: Tausept Ochre - the lighter color green for the body was: Camo Green + Scorpion Green (this will appear too light at first, and that's normal) - the darker color green is : Orkhide Shade + Hawk Turquoise + Skull White (this will look blue when applied, and that's normal) -Thraka Green wash applied to all the light and dark green area, this makes the lighter green the correct shade and the darker green/blue take on the needed greenish tint -grey/white panels/feathers: VERY LIGHTLY applied 10% Skull White wash -Wing Feathers: Blood Red -raised metal detail parts, like the zipper on the lower hull and the side of the guns: GunBolt Metal -Coat all the above with a Devlan Mud Wash, do a single coat to each piece at a time, do not allow to pool in areas. You don't have to do the whole kit at once. You can do the top of the wings, then the bottoms later, etc... -Engine block: Fluorescent red and fluorescent yellow, allow to dry then dry brush Gunbolt Metal across the raise areas and tombstone shaped bits.. -Wing Binders: Chainmail a wash of Gunbolt Metal thin drybrush wash of rust and metalic blue, especially on the front heavy wash of Charcoal Apply Future with brush, then decals 1 day later, then 1 hour later top coat with future after an hour. Parts that appear white on decals are actually clear and will allow rust/blue/metal to show through -Cloaking generator and detail bumps: Scab Red -assemble, -add additional wash 10% Black LIGHTLY APPLIED, Sepia, Devlan Mud, as needed. -Windows: White Ink -Running lights: White Ink topped with a touch of Fluorescent Yellow -Acrylic Dull coat. -Add LIGHTLY some wear with Tamiya Pastels: Soot, Rust, etc... --Acrylic Dull coat. There were so many pictures for this kit, that I had to split them into 3 galleries:
|
.