 |
|
|
|
|
This is how to build good looking mecha models. Thought the examples
are only of a forearm they do take you step by step though the process
of building a decent looking mecha model. All of these techniques can
be used on any plastic mecha model not just Gundam.
The steps below should give you enough of the basics to get a good
start.
This tutorial presumes you are using Tamiya
or Gunze Sanyo paint
and have a bottle of Plastruct
Plastiweld.
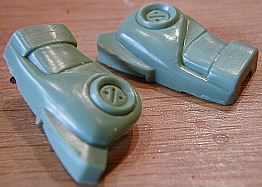 |
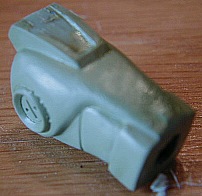
Here we have our basic pieces freshly cut from the model tree. Always make sure you use a fresh knife blade when trimming off extra flash. |
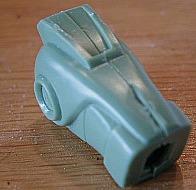 |
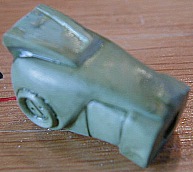
Here we have the pieces test fit together. We can now joint them
together using Plastruct Plastiweld. Plastiweld is not glue. Its
an ammonia based solvent that turns the edges of the plastic liquid. Then
as the solvent evaporates the pieces become fused together as if they were
cast as one piece. To apply the plastiweld, test fit the pieces as shown
in the image to the right. Leave a 1 mm gap between the pieces then apply
plastiweld along the seem.
As its a thin liquid it should run into the seem without difficulty. Avoid using too much plastiweld- a once over should be enough. Then squeeze the pieces together. |
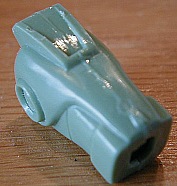 |
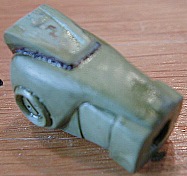
Here we have the now jointed piece. Notice the raised seem were the
pieces were previously separate. This seem is normal. Allow the piece
at least a good 8 hours
too completely solidify. |
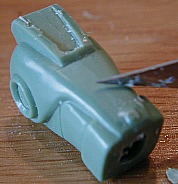 |
After the 8 hours have past we can now use the side edge of a hobby knife to scrape even the recently jointed pieces. Scraping the hobby knife sideways at a 45 degree angle from the seem insures that you will get a smooth finish. Also this technique is faster and less messy that using sand paper. |
 |
After smoothing out the seem we can now paint our base color onto the piece. Which is in this case flat light green. Always use camel hair brushes with water based paints like Tamiya and Gunze Sanyo. |
 |
After the base coat is dry we can apply a wash to bring out the color
and enhance detail.
To do a wash use a darker version of the same color of paint (in our case dark green). Then dip you brush into the paint then into a cup of water. Then apply it to the model. The thinned out paint will lay in the deeper details of the model and make them more visible. Have a paper towel handy to absorb any excess run off. |
 |
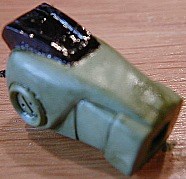
After the wash is dry you can use an ink pen (with permanent ink in it) to outline were other detail colors need to be painted. In this case the black elbow piece. |
 |
Paint any detail colors. Always work from the lightest colors to the darkest- as darker colors are harder to cover up. |
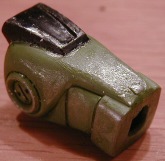 |
And now the finishing touches. We add a flat finish to the black elbow part to even out the color. Here is how we add metal wearing. It's so easy. Use Tamiya silver. paint a 2 inch by 2 area of a piece of paper with the silver paint and let it dry for an hour. After an hour take the piece of paper with the now dry paint on it and rub the dried paint against the edges and corners of your model. The silver will rub off on to the model at the edges and look like natural wear on the paint job. |