 |
YF-19 Batroid -In Progress Page- |
|
|
YF-19 Batroid -In Progress Page- |
| Building the YF-19:
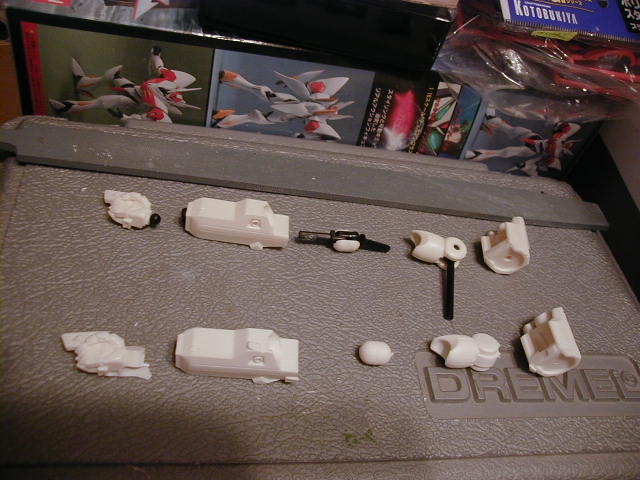
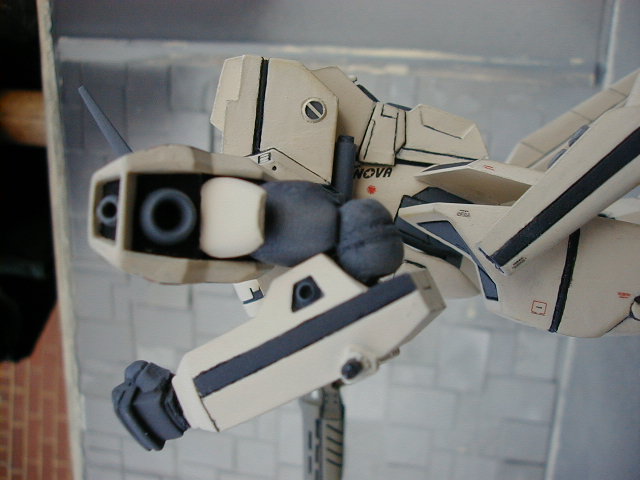
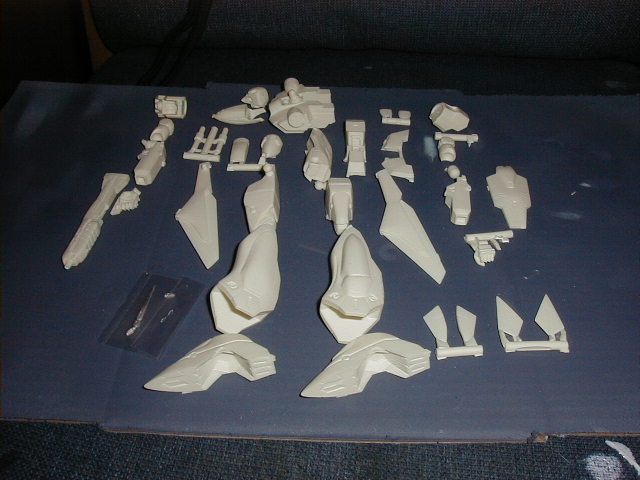
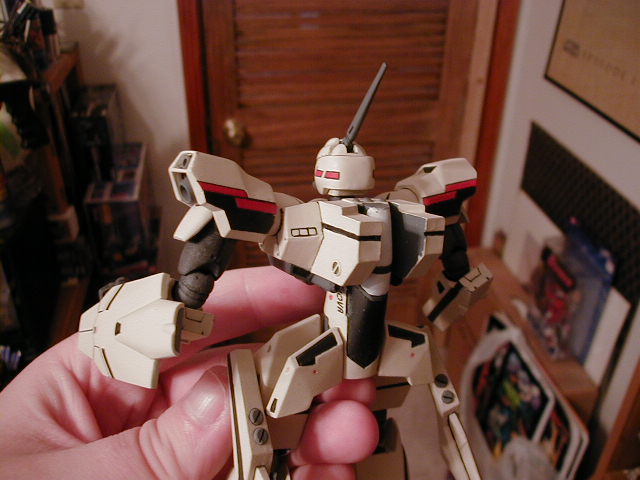
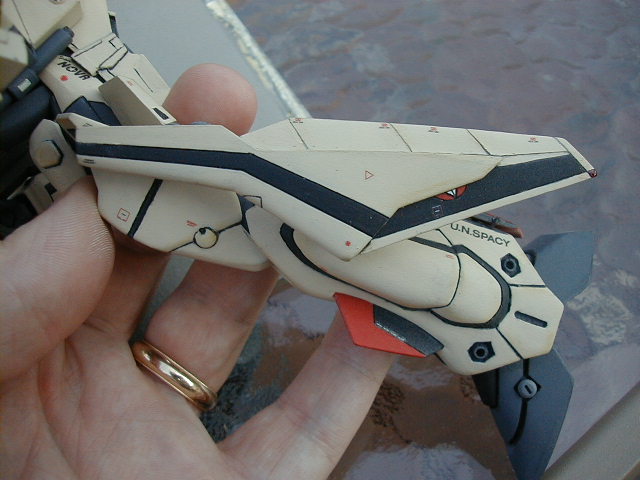
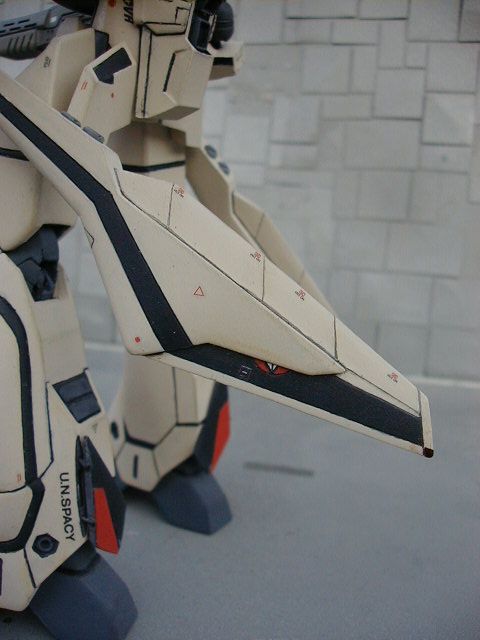
The first thing I noticed about this kit was that the detail lines were very shallow. So I used the back edge of an exacto knife to deepen and enhance the panel and detail lines, especially around the missile doors on the lower legs and UN SPACY logos on the torso and wing. Next up for this kit was trimming the mold lines and wet sanding. And it had some REALLY annoying mold lines on the sides of the legs. After that I started adding the joint parts to the resin pieces. I did most of the joint installation with a variable speed cordless drill and a razor saw. Here are the parts I used: Neck Wave B-joint (S)
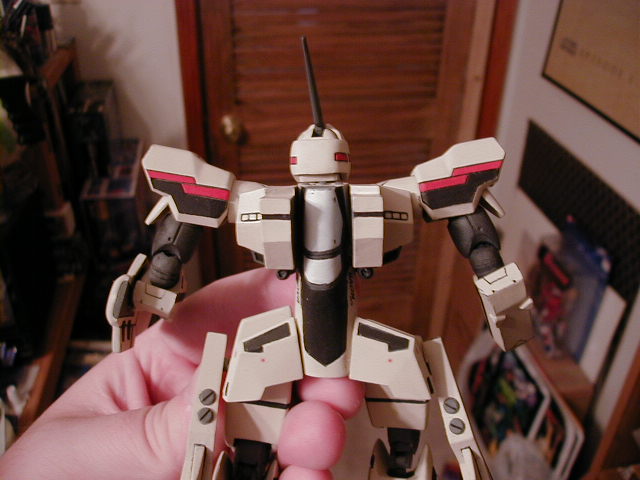
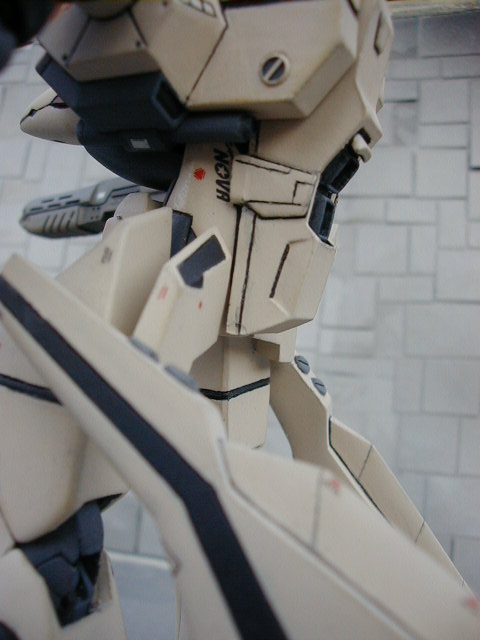
The neck was pretty straightforward. I clipped off the post the head was supposed to mount on, and enlarged the existing hole in the head to accommodate a small Wave b-joint. The shoulders were a challenge. The top of
the upper arm was a solid barrel shape that tightly conformed to the shape
of the inside of the shoulder armor. I drilled a hole thru the center of
the barrel shape that matched the diameter of the Pcap post. I then used
the razor saw to cut 2 parallel grooves on both sides of the barrels center.
I then cut at a 90-degree angle to these to cuts, cutting off both the
one side and the center. I was then able to mount the P-cap in the previously
drilled holes and glue the severed side back onto the arm with Jet.
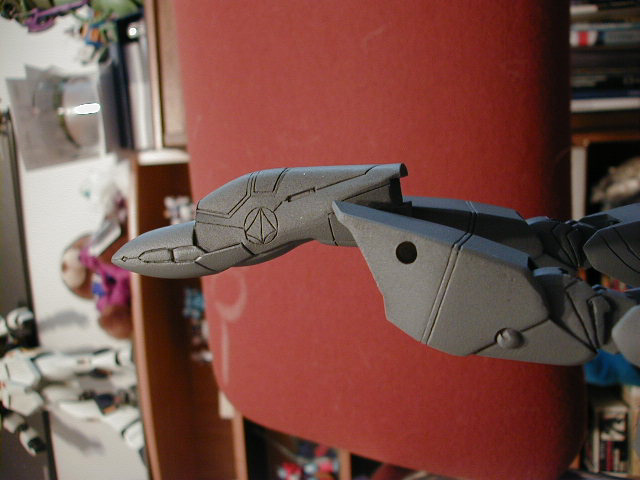
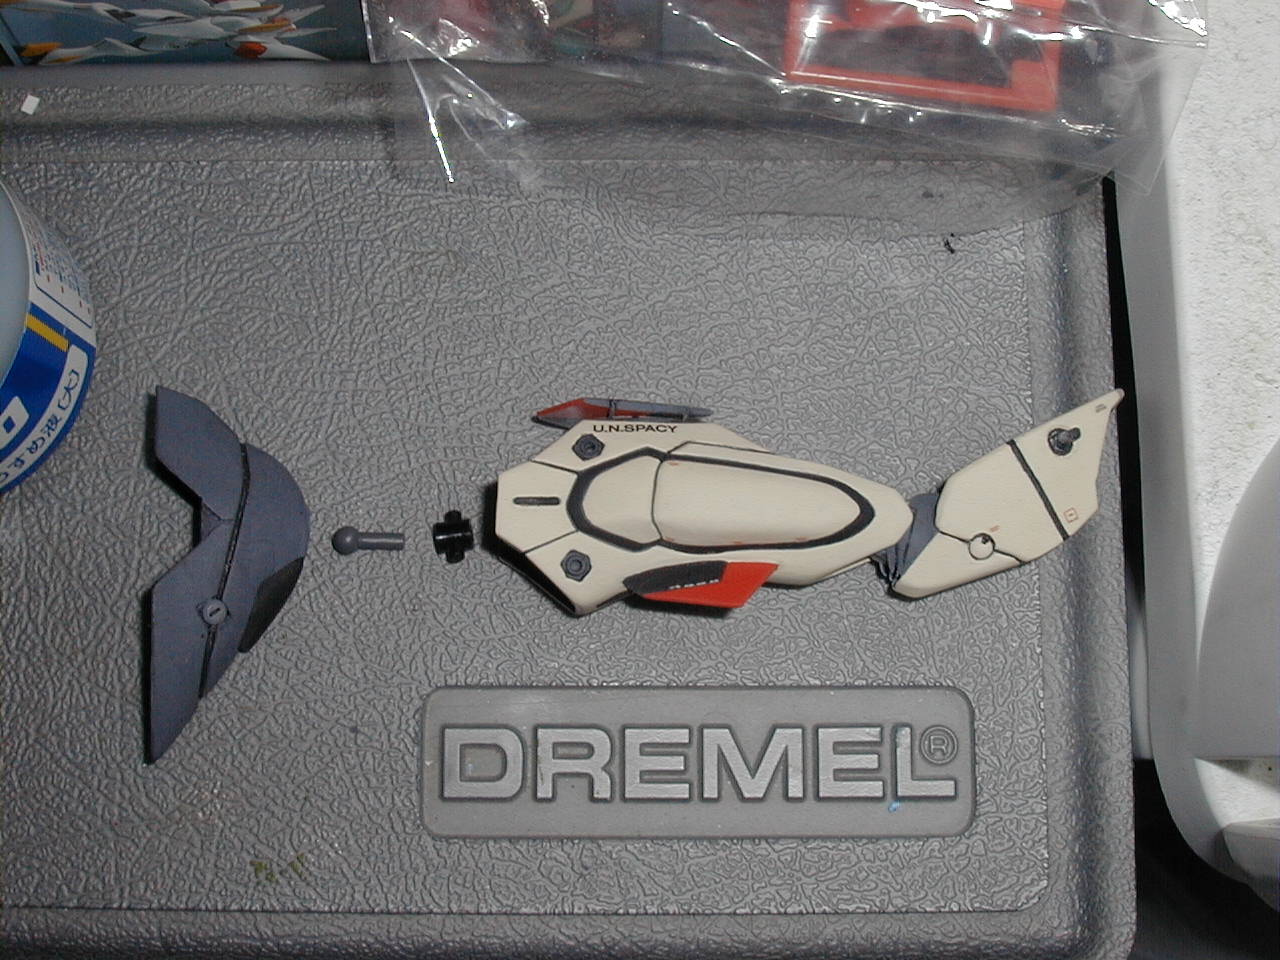
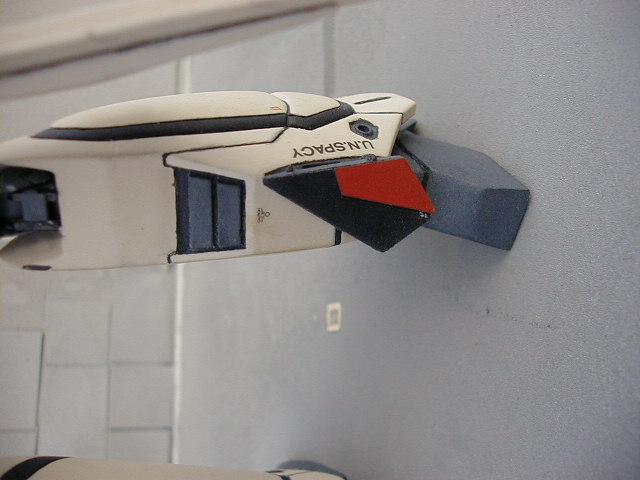
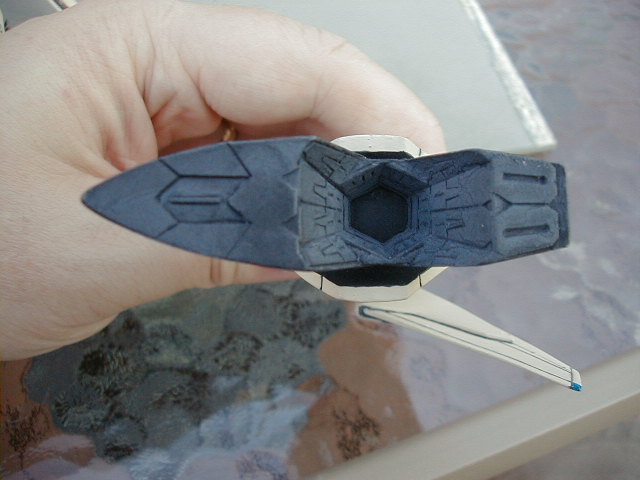
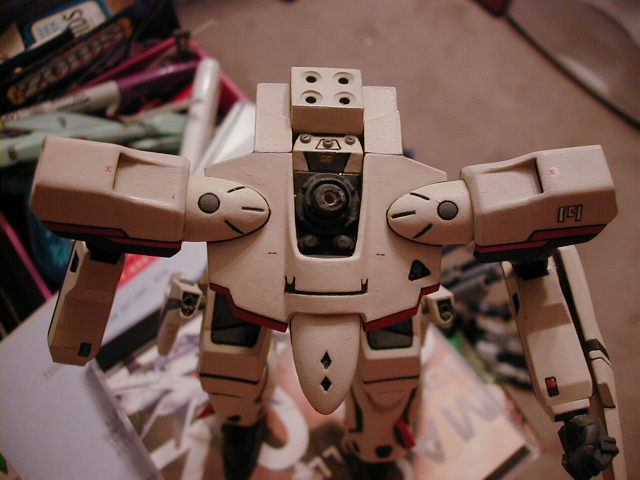
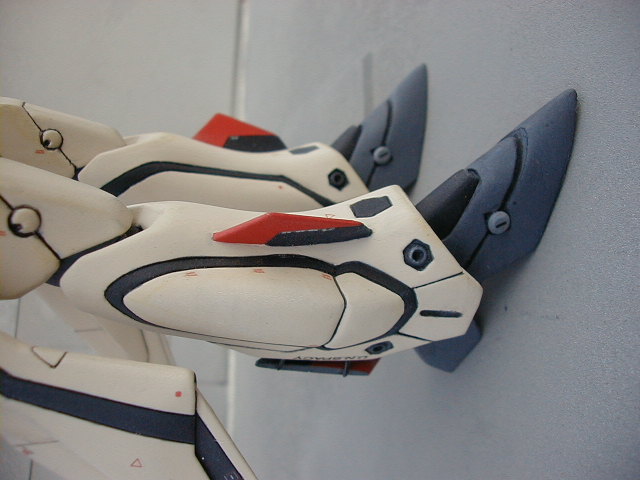
The elbow presented a unique challenge as well. The original kit provided an egg-shaped piece of resin to glue in between the upper and lower arm. So I decided to turn this egg shaped piece into a joint cover for the Wave L-joint. Using the razor saw I cut 2 grooves at a distance equaling the width of the assembled L joint 2/3rds of the way into the part. I then drilled a hole between the 2 grooves, the width of the assembled L-joint. The result was a U shaped valley in the egg shaped resin part. I used a file to square off the bottom of the U shaped valley and installed the L-joint. The joint cover fit like a glove and the snug fit held the 3-part L-joint firmly together. Lastly I drilled holes into the upper and lower arms, matching the diameter of the posts on the L-joint. The wrists and hips, like the neck, was just a matter of drilling out the holes and installing the ball joints. The knees became an even more challenging bit of surgery. I wanted to retain the front and side knee detail (which was cast into the thigh), so I had to remove the center and the rear of the bottom of the resin knee detail without damaging the front or sides. To accomplish this, I drilled a series of 6 holes, 3 up from the bottom in a straight line, and 3 from the rear in a straight line till the holes met inside the resin. I then used the razor saw, from the rear of each piece, to saw down the outer wall of the now L-shaped groove. Once through, the desired piece came away from the thigh. I drilled holes into the upper and lower legs, matching the diameter of the posts on the Kotobukiya mecha joint posts and sandwiched the double-jointed mecha joint up into the thigh then down into the leg. Last came the ankle joint, initially I installed a medium size Kotobukiya joint into the foot and drilled a hole for the post up into the bottom of the lower leg. However, this didnt last log. The weight of the entire kit was too much for the post attached to the ball portion of the joint to take, and it snapped off of the ball in under an hour. As a replacement I decided on something more sturdy and versatile. I left the socket portion of the ball joint in the foot. I replaced the soft rubber ball portion with a PVC ball from Kotobukiya. I then enlarged the hole in the bottom of the lower leg and installed a polycap from an old ZZ era kit. The PVC post on the ball slid snugly into the polycap. This added an extra bit of movement for the foot; not only could it rotate on the PVC ball in the rubber socket, but the entire foot could raise and lower in and out of the lower leg, allowing it to accommodate more poses. I had lost some minus mold detail that had been etched onto the rear of the torso and the cockpit opening. So I drilled out those areas and replaced them with Kotobukiya Minus molds. After all the joints where installed and tested, I pulled apart the sub assemblies and washed the entire kit in Windex to remove grease from my hands and left over mold release. I primered the parts with Painters Touch gray primer. I painted them mostly with MR COLOR, a custom mix for the tan, red, white, clear red, clear yellow, and clear blue for the details. I noticed the wings looked a little plain (no pun intended), so I etched panel lines on the ailerons. I used the Wave Macross option decal set for the 1.5mm and 2mm caution, no step, and other warning markings. The UN Spacy logos where etched into the kit, so I didnt need decals for them. I also added several decals that I thought helped increase the realism of the kit. The only decal that proved difficult was the 19 on the left shoulder. The decal was white, but had no outline around it and almost disappeared on the light tan surface. As a solution I carefully inked the edges of the 19 to make it visible again. With the decals complete, I sprayed a light coating of dull coat to seal them in before using the clear paints on the lens and sensor areas. I also added a little Vasoline to the inside of the shoulder armor before assembling the arms again. This should prevent the tight fit of the shoulder from snapping the shoulder joint. I did add weathering to the kit, but it is VERY subtle, a Valk isnt a ground pounder, and a proto-type like this would be well maintained. Valks spend most of their time in the air, so my approach to weathering was minimalistic at best. Due to my camera, its hardly noticeable in the photos. There were so many pictures for this kit, that I had to split them into 2 galleries:
Click on smaller images below to enlarge. |
 |
 |
 |
 |
 |
 |
 |
 |
 |
 |
 |
 |
 |
 |
 |
 |
 |
 |
 |
 |